Set up a scheduled task
Scheduled tasks run an AI prompt on a schedule. Use a clear self-contained prompt because a future run needs enough information to understand the task.
Prepare the task
Section titled “Prepare the task”- Open Settings → Scheduled Tasks.
- Choose New task, or inspect Templates for a starting point.
- Enter a task name and the prompt.
- Choose an available model.
- Choose Once, Daily, Weekly, or Monthly.
- Set the time and any date fields the form displays.
- Review priority and Email notification.
- Check the details, then choose Create when ready to schedule.
The inspected form labels its time as UTC. Convert your intended local time before scheduling. For example, 09:00 in a fixed UTC+6 time zone is 03:00 UTC. If your time zone changes with daylight saving, account for that change.
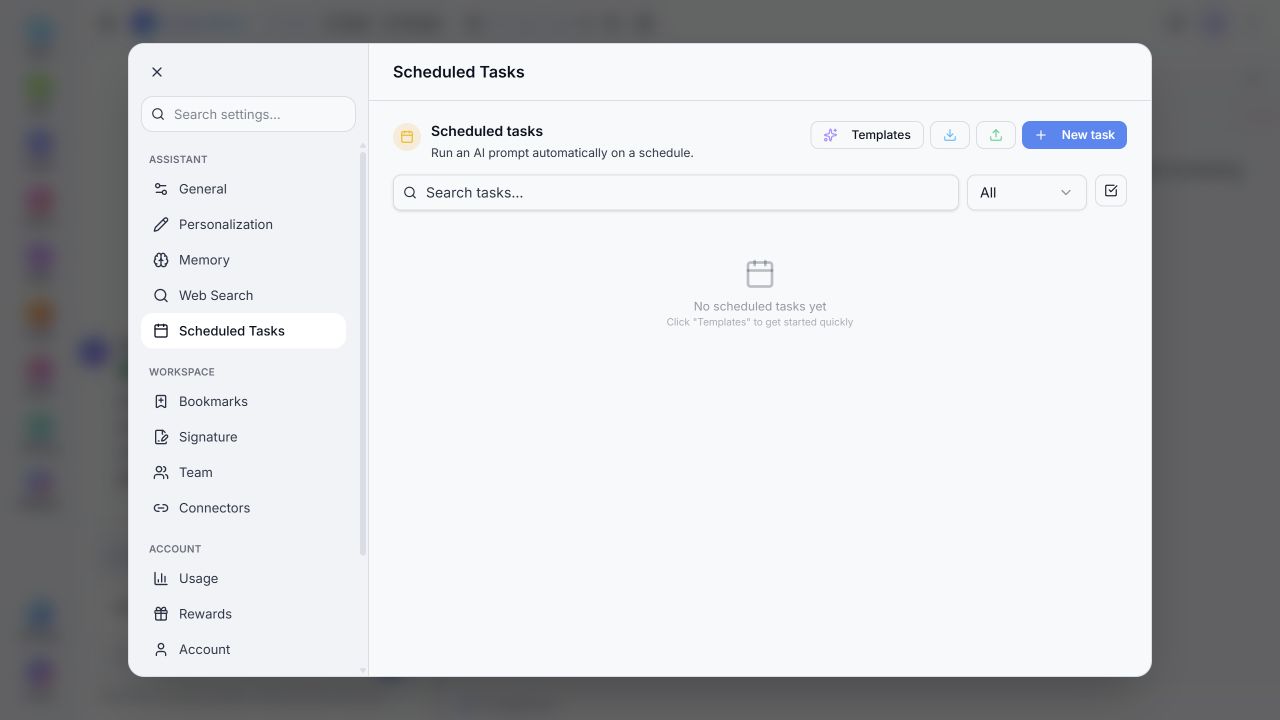
The form was inspected, then canceled. Scheduled execution and email delivery were not tested.
Example prompt: Create a short planning checklist for the documentation launch. Use the priorities listed here: review the outline, finish the first guide, check screenshots. Do not assume any task has been completed.
Manage tasks
Section titled “Manage tasks”The implementation provides editing, running, toggling, duplication, deletion, and history. Check the task’s state and next execution information after saving. Review actual run results before depending on a recurring workflow.
Do not assume a scheduled task can access an external account just because the prompt mentions it. Connected-account permissions and tool availability still apply.